Create Your Own Animated 3D Model
 zoya-hussain
Contributors: @wollygfx Edited by: @zsh Time: 45-50 minutes, Beginner
It's time to start modelling! In this Jam, we'll be developing 3D models with the JavaScript library Zdog. You ready? Let's go!
Outline:
- Goal-setting: Explore what we'll be doing in this workshop, and examples of 3D models you (yes, you!) can create.
- Set-Up: Follow as we walk through the steps of setting up your coding environment to write code in HTML and JS.
- HTML Part: Write the HTML to prepare for creating models in JS.
- JS Part: Learn how to create shapes with Zdog and JS with a combination of code, mathematics, and art 👀
- Additional Challenges: Once you've nailed down the basics of 3D modeling with JS, check out some challenges to spice up your project 🌶️
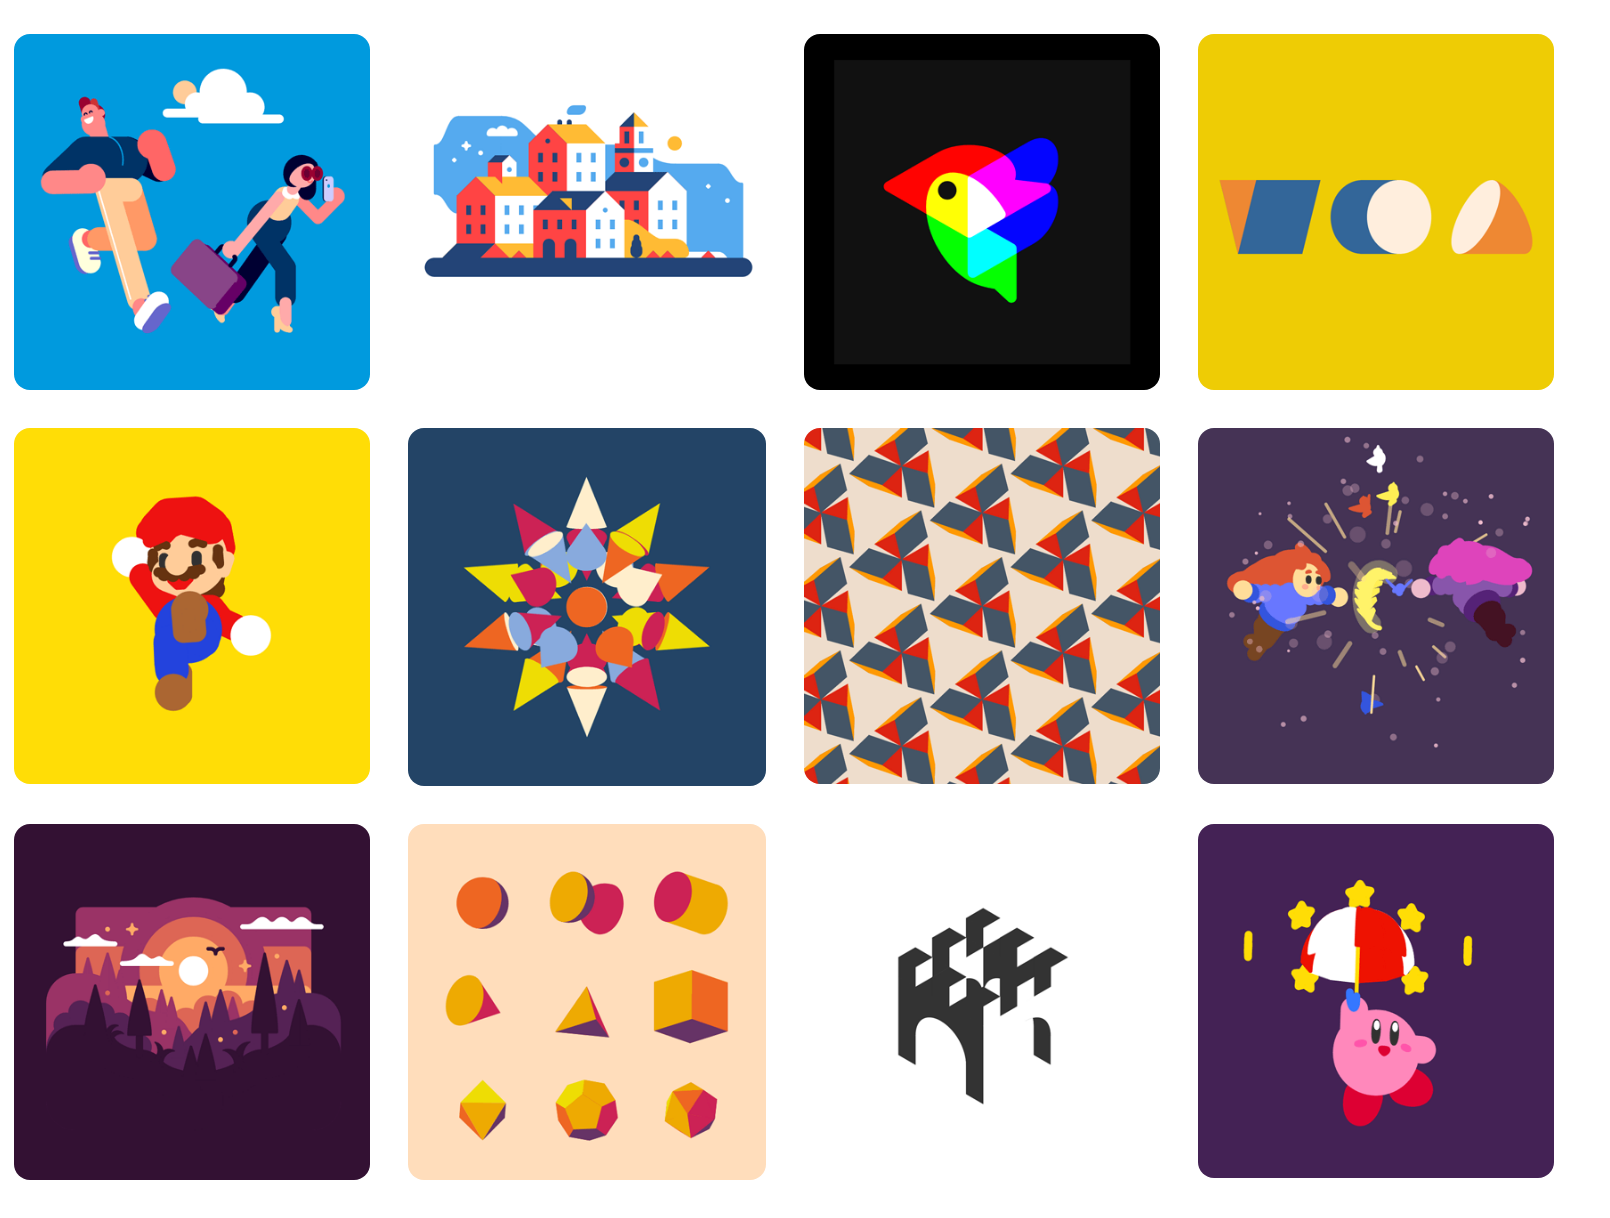
At the end of this workshop, you will be able to make 3D models like these:
Here's a live demo of what we will make, you can also find the final code there.
Set Up
This workshop requires a very basic knowledge of the following languages: HTML & JS. Don’t worry if you get stuck at some point in the workshop, everything is explained the best way for you to understand!
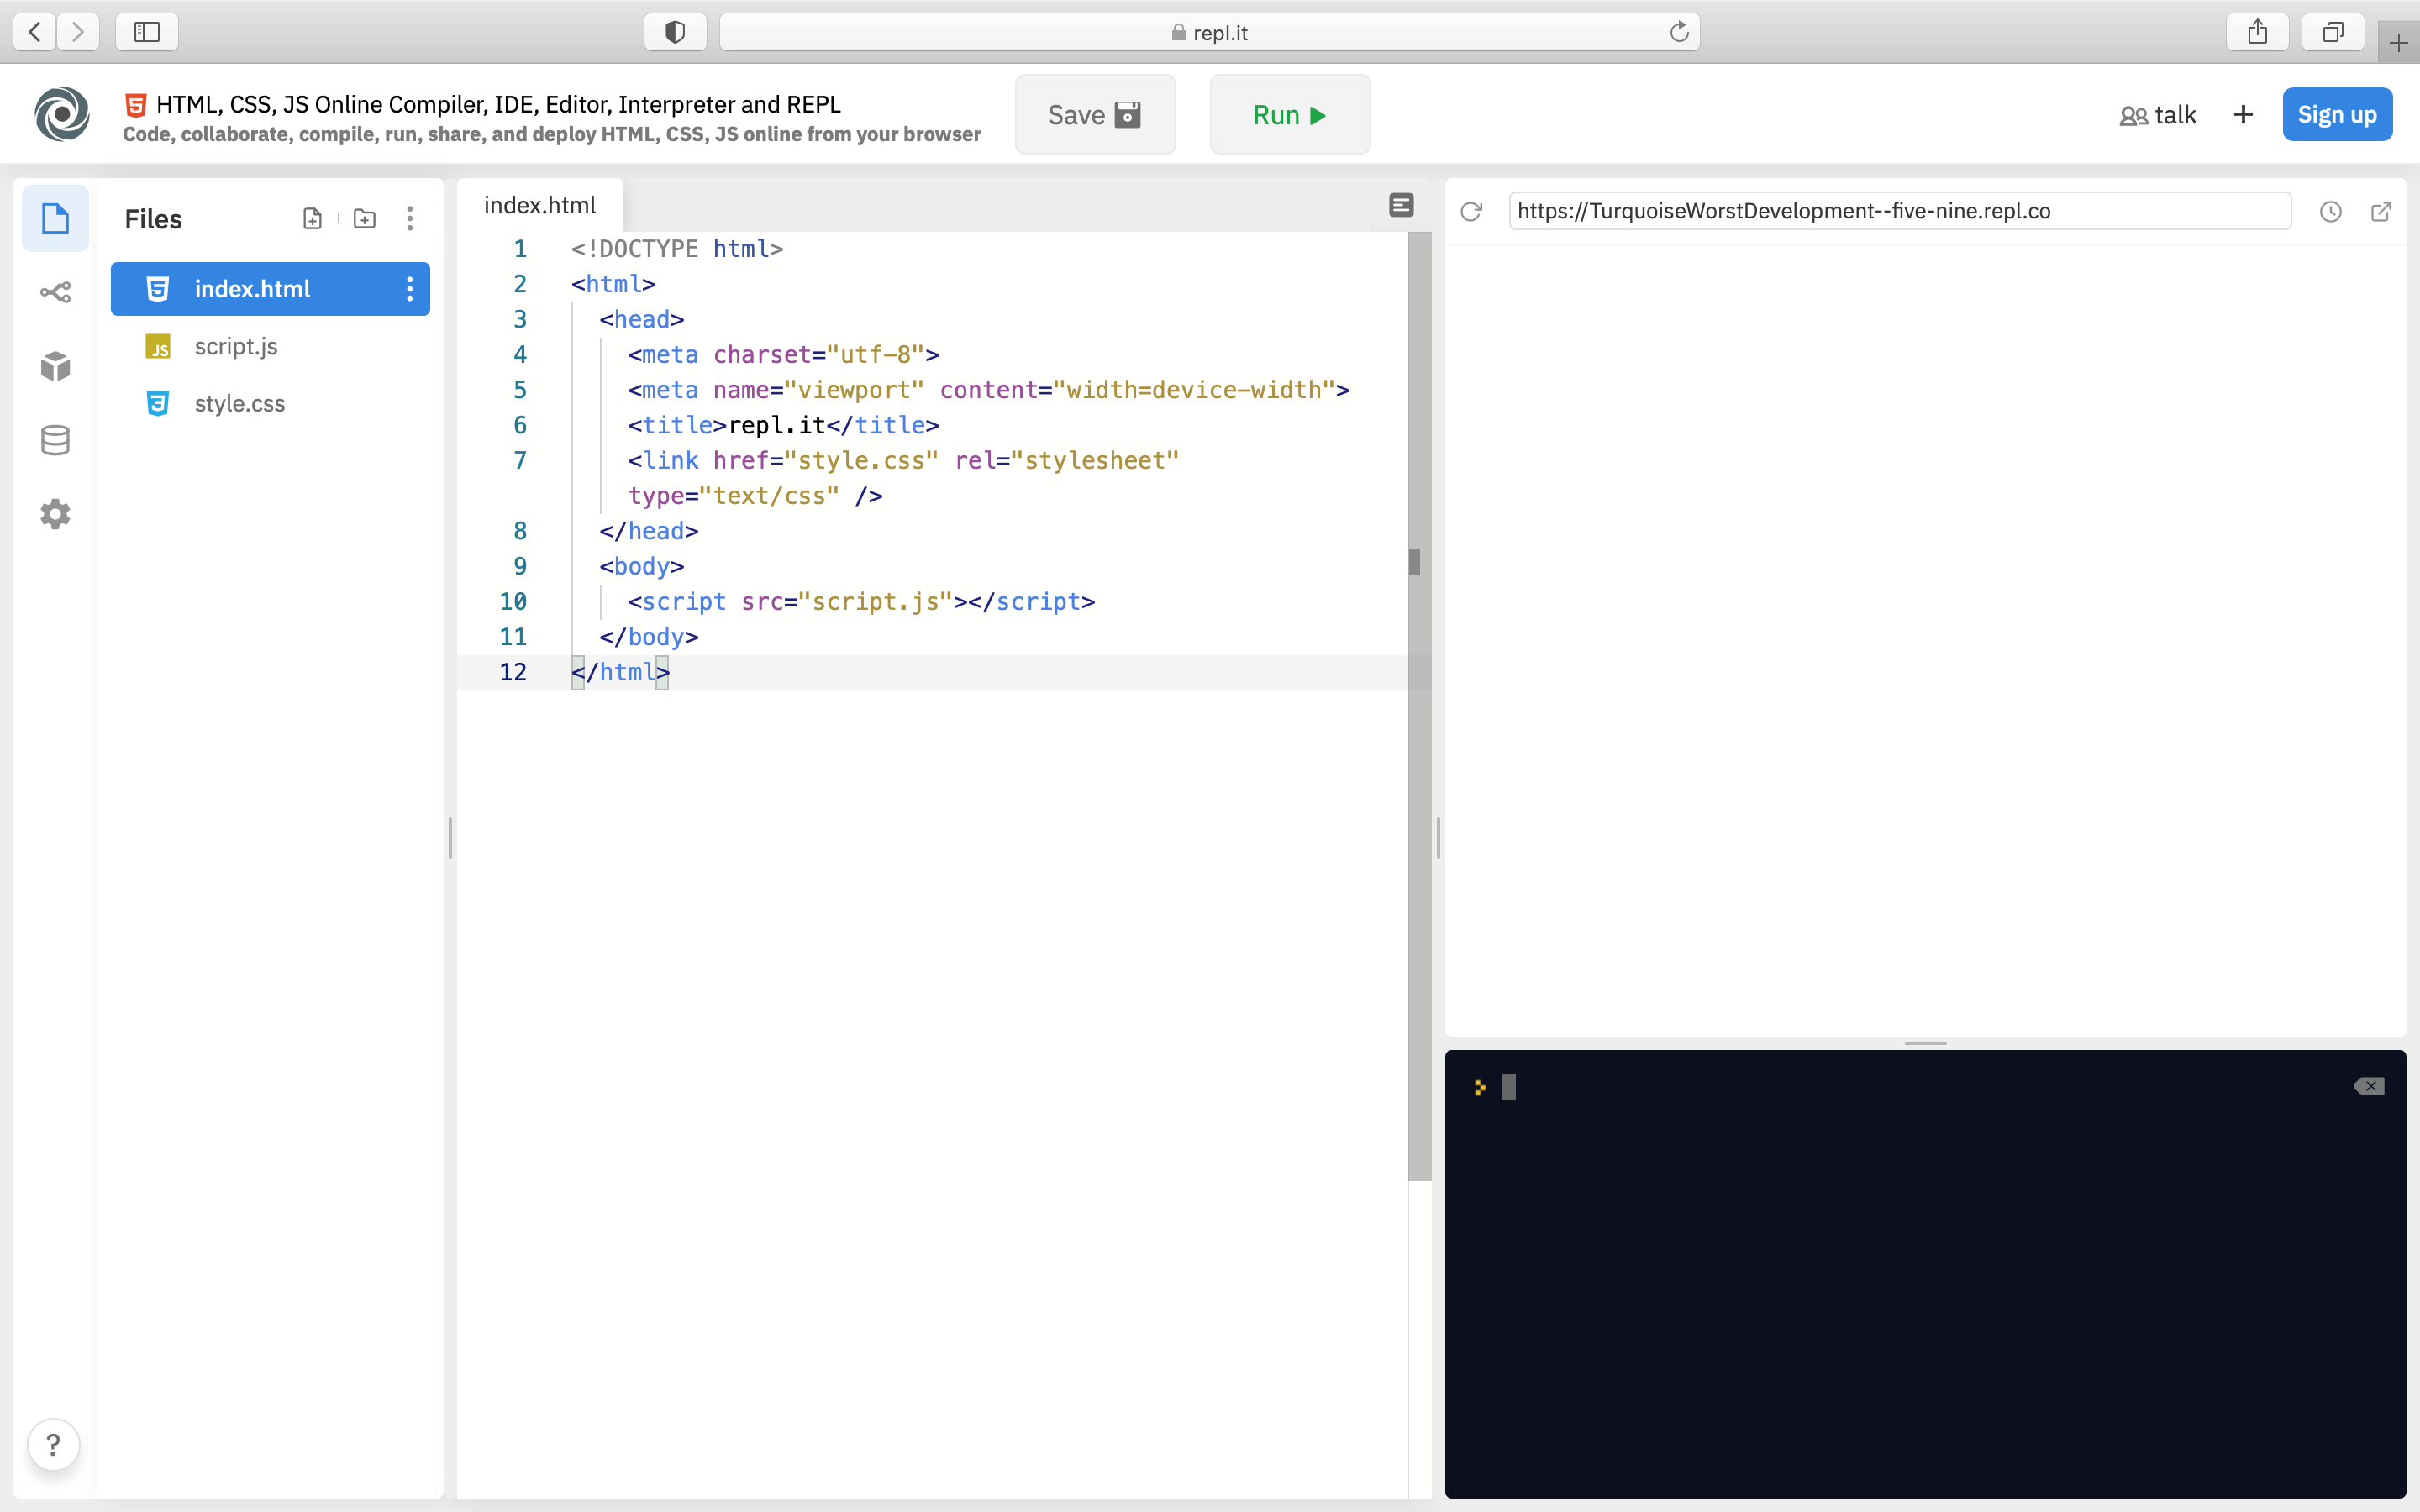
For this workshop we will use Repl.it, click here to create a coding environment right for this workshop.
HTML part
Awesome, now you've got everything set up to begin coding! Now, let's begin with HTML.
First, we want to create inside of the <body> tag a <canvas> in which, the 3D model we are going to create will render. Then, put a class; feel free to name it as however you want to… I will name it with the class model.
Now we have to put the following code inside of the <body> tag, this code allows us to use the Zdog library without having to download it. Learn about CDN here.
In the end, your code should look something like this:
Note: It’s very important to keep this order to make sure everything works perfectly
JS part
Now that we have our HTML file ready to go, we gotta work on our JavaScript file.

Setting up the canvas
We are going to start with the fun part. First, let’s create the main variable and let’s give it a name. Feel free to give your variables any name. For this tutorial, I'll use “ws”.
Let's break this down:
- Illustration is the top-level class that handles dealing with the
<canvas>element, holding all the shapes in the scene, and displaying those shapes in the element - element we use this element to match the render with the canvas tag
- resize is used to modify the size in which the model will be rendered, in this case, the 3D model will render on the whole screen. If you want to, you can remove this element
At this point nothing shows up yet, so let’s create our first 3D model.
Creating the model
Now, we’re gonna create a shape, for this workshop I want to make a simple cube, but you can create whatever you want to. Here is a list of shapes you can create with Zdog.
Note: Every shape has its own properties or elements, you can check the full list here.
Let’s add the following code to our JS file:
Explanation:
-
Box is a shape class, you can replace this for the shape you want to use…
-
We made the 3D model (cube) a child to the main Zdog Illustration (ws) using the addTo element. This element must be there, otherwise the 3D model will not render.
-
The width, height and depth elements can either stretch or shrink the shape of your box:
- Width: Sets the width of the cube
- Height: Sets the height of the cube
- Depth: Sets the depth of the cube. If the value is 0, the cube will render as a 2d square; so make sure to give it a value.
-
The Stroke element gives the 3D model a stroke, it works as an external layer that you can use to give your 3D model a rounded look. Play around with it!
-
leftFace, rightFace, topFace & bottomFace elements give color to each face of the 3D model, try using different colors for each face, so that you can appreciate way better the animations you make.
Rendering
Now that we have created our 3D model, let’s render it. Use the following line of code to render the cube we just created.
This code updates and render your Zdog illustration that was declared in the first variable, so make sure to write the correct name in.
Now let's click on the Run button to see what happens…
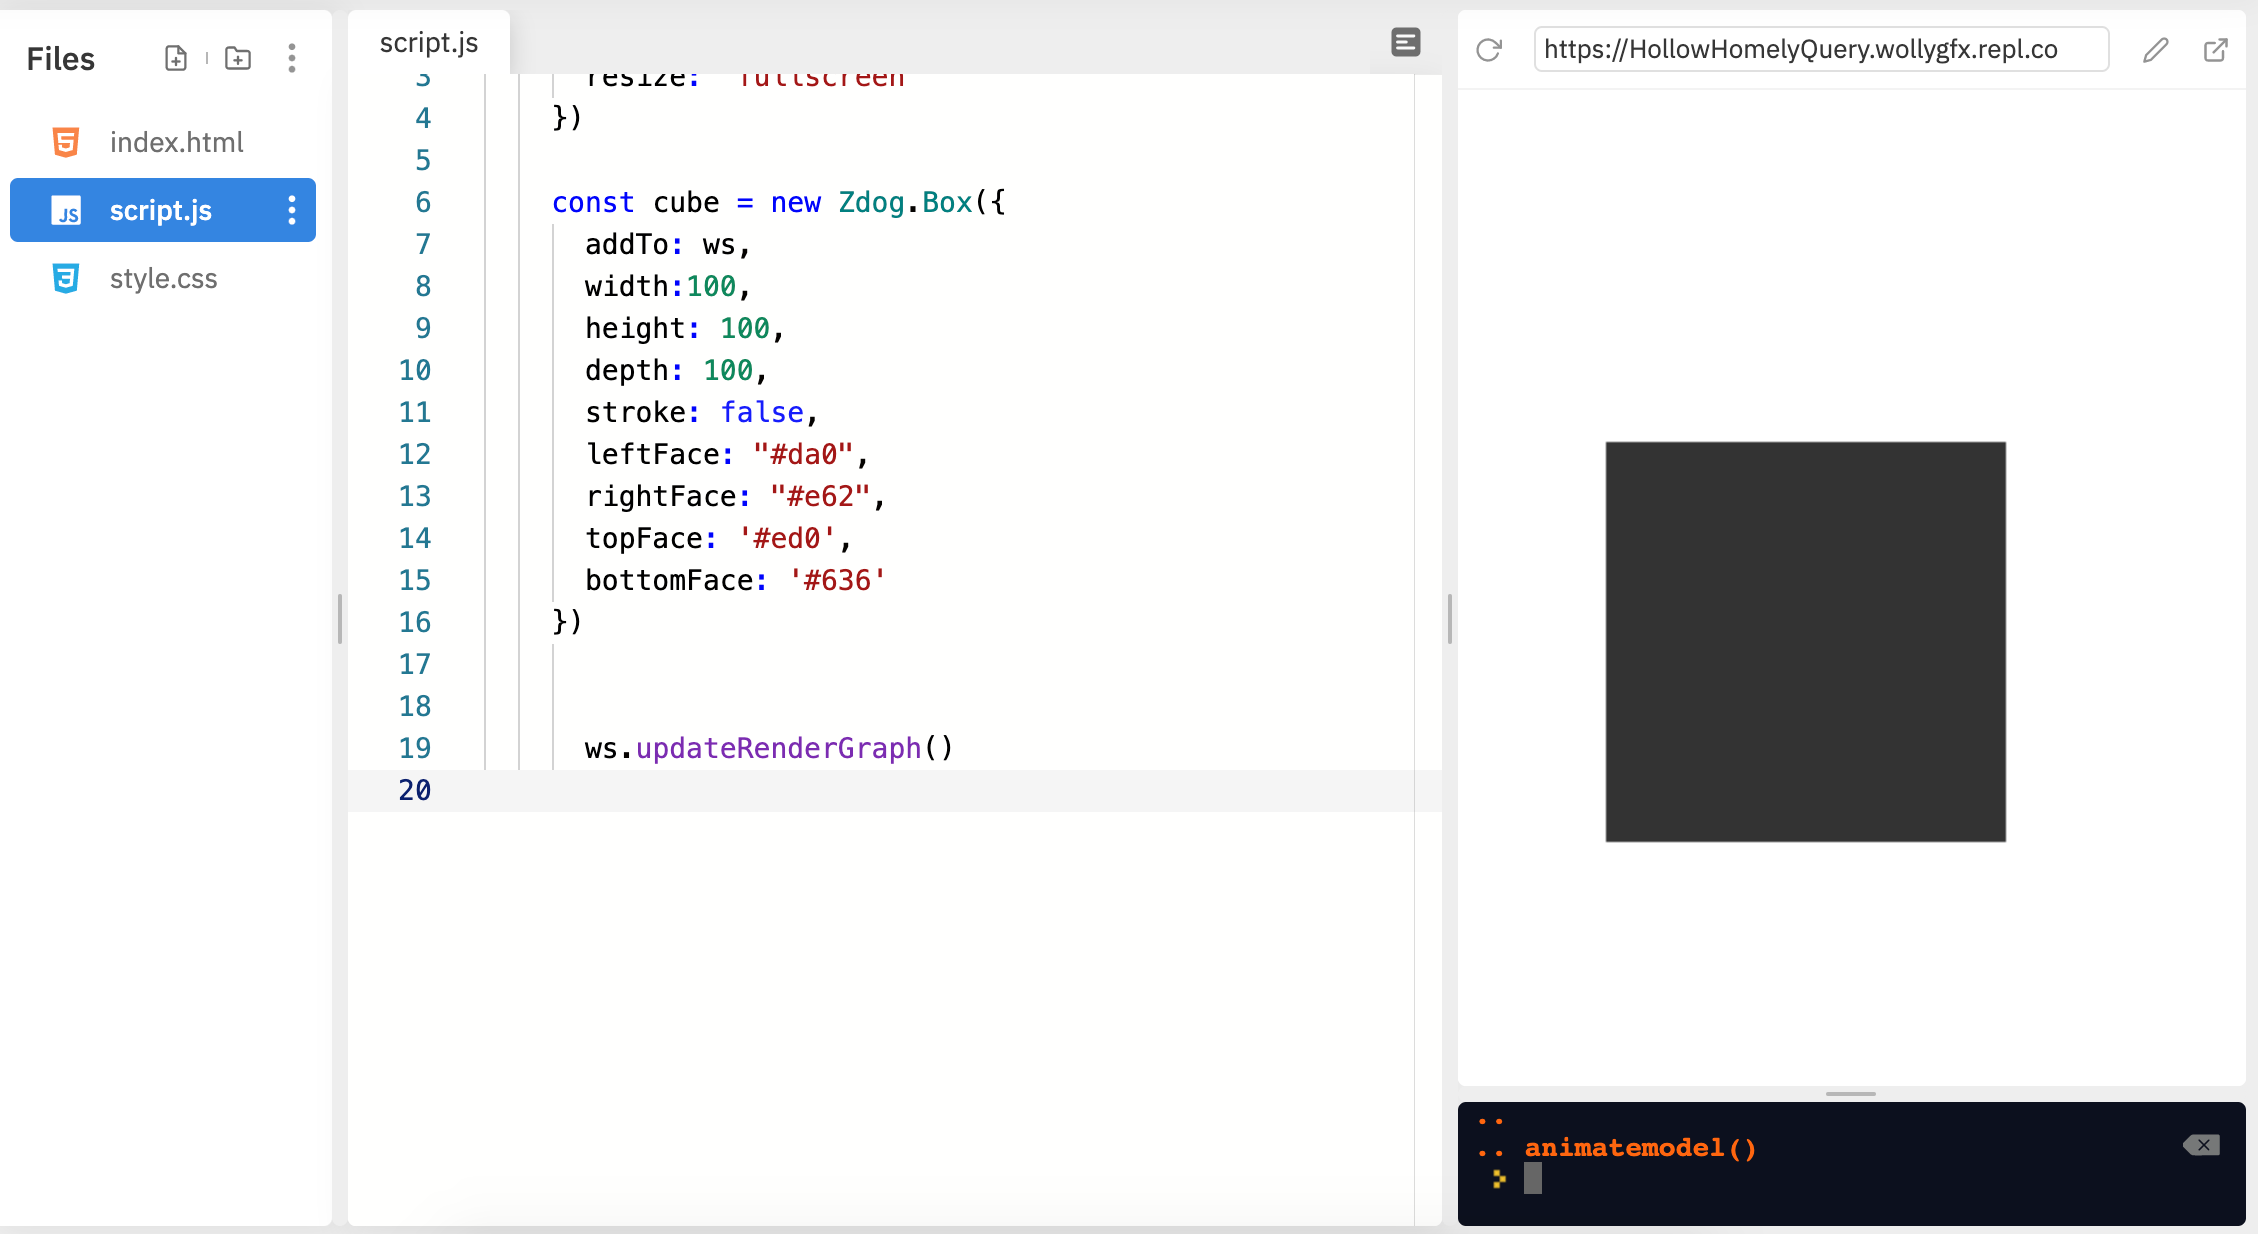
Congrats, you just made your first 3D model… Yeah, maybe not what you were expecting. Let’s fix this by animating it.

Animating it
Add the following code to our JS file:
Explanation:
-
We just created a function that will make the 3D model rotate, you can name this function to whatever you want.
-
rotate.xandrotate.yset’s the velocity to the rotation of the model:- The cube will move up and down depending on the given value (- or +, respectively)
- The cube will move to the right and to the left depending on the given value (- or +, respectively)
-
ws.updateRenderGraph()updates and render your Zdog illustration that was declared in the first variable, make sure to write the correct name in. -
requestAnimationFrame(animatemodel)this is like a loop, basically it makes the model rotates every time by creating frames. -
animateModel()calls the function.
Now you can click on run again!
Amazing, huh?

Now, go ahead and experiment with the other shapes offered by Zdog (spheres, cylinders, cones, or even custom shapes) and explore the possibilities for creating your own unique 3D models!
Multiple Shapes
If you want to try and make more complex models you will need to use multiple shapes, here are some examples of what you can create:
Making multiple shapes is very easy, it’s as simple as putting multiple shapes together until you get what you want. The hardest part of this is to put everything where it must be, we can do this using the property: “translate”.
You can use this property by creating your own complex illustration, which explores hierarchical structures, grouping shapes, and experimenting with positioning and transformations. We'll see how this works when creating a Hack Club logo! Click here to see the final code.
First, let's change the class of our canvas in the index.html file from model to hackclub.
And add a background color for our project in the style.css file. You can choose any color for the background of your 3D model using a library of hex codes.
After that, let's go back to the script.js file and change the element selected by Zdog from .template to .hackclub and add the dragRotate property with the value set to true so we can rotate our creation.
Next, let's change the properties of our cube so that it turns into a square:
- As seen before, the
addToproperty puts the made shape inside of the main Zdog Illustration. - Used the width and height properties to make a perfect square, i didn't give it a depth because it was not needed.
- The whole square will have the same color (red), so we can use the color property to give the whole shape a single color instead of assigning a color to each face.
- As mentioned before, the stroke property helps the shape to look a little rounded.
- The translate property moves the square -18 within the z-axis. You can interpret this as if you were giving a shape a depth, so the shape is moved backwards.
Now I will create the letter 'H', so I'm gonna need 3 more boxes:
- This time, the shape is moved forward… This creates an space between the red square and this new shape.
- The shape is moved to the left within the x-axis

- This time, we created a new box but way smaller.
- We moved it to the right within x-axis and a little bit down within the y-axis.

In this last one, all we had to do was to move the box to the right within the x-axis, so that it blends with the box in the right.

Now let's update the animation function with some simple properties:
Here's the final result:

Level up
Congratulations! You just learned the basics of Zdog, feel free to check the resources below to improve your knowledge...

Make your own 3D Model and share it in the Hack Club Slack, I would love to see what you can create using what you've learned in this workshop!
Now that you know the basics, you may be wondering where to go from here. Well, look no further, I've left a list of challenges for you to spice up your project and become a 3D modeling expert!
🌶️ MILD:
- Interactive Animation:
- Research Zdog's event handlers, such as 'onDrag' or 'onClick', to capture user input.
- Use event listers to detect mouse or touch events and modify properties of your 3D model accordingly.
- Look through Zdog's GitHub repository and CodePen to see examples of interactive Zdog projects.
- Creating Complex Compositions
- Plan out your compositions in advance with a pen/paper or digital design tool (I recommend Procreate or Krita).
- Experiment with positioning, rotation, and scaling properties until you reach your desired outcome.
- Review Zdog's group property and explore ways to use it for managing multiple shapes together.
🌶️ 🌶️ MEDIUM:
- Camera Movement:
- Look at Zdog examples and tutorials that showcase camera manipulation to learn different approaches and techniques.
- Lighting and Shading:
- Research libraries and frameworks with advanced rendering capabilities, such as Three.js or Babylon.js, which offer support for materials, textures, and opacity.transparency effects in 3D rendering.
- You can also achieve the effect of different opacities by experimenting with color theory, changing the colors of surfaces and the backdrop, and more!
🌶️ 🌶️ 🌶️ HOT:
- Advanced Interactions:
- Create advanced interactions by using libraries and frameworks in tandem with Zdog.
- React.js and Vue.js, which are used for creating user interfaces, can be used to create complex and interactive scenes using event handling and component lifecycle management
- Interactive SVG libraries like Snap.svg, or Canvas libraries like Paper.js can create complex interactions, animations, and event handling capabilities.
- Create advanced interactions by using libraries and frameworks in tandem with Zdog.
Other examples
Check out these cool 3D models made by other people:
- Live digital clock made using Zdog
- Amethyst from Steven Universe made using Zdog
- Octocat made using Zdog
Resources
Congratulations! 🎉 🎉 🎉Share your final project with the community